


- 1. Key Takeaways
- 2. How to Build a Mobile App: A Step-by-Step Process
- Step 1: Define the Problem and Your App’s Goal
- Step 2: Research Your Market and Competitors
- Step 3: Choose Your Build Approach
- Step 4: Scope Your MVP Feature Set
- Step 5: Design the UX/UI and Prototype
- Step 6: Build the App
- Step 7: Test Across Devices, Security, and Usability
- Step 8: Submit to the App Store and Google Play
- Step 9: Launch, Monitor, and Iterate
- 3. How Much Does It Cost to Build a Mobile App?
- 4. Common Mistakes to Avoid When Building a Mobile App
- 5. Whether you should build it yourself, use a no-code solution, or employ a development team?
- 6. How Boomdevs Helps You Build a Mobile App
- 7. Frequently Asked Questions
Summarize with
You have the idea now, but you need to build a mobile app rather than merely imagine one. That is where most of the real risk lies.
Most initial builds don’t fail at launch; they fail earlier, because of a hasty platform choice or scope creep that doubles without anyone noticing.
This guide on how to build a mobile app covers the steps, the work involved, and where you lose the most time and money before reaching the store.
Key Takeaways
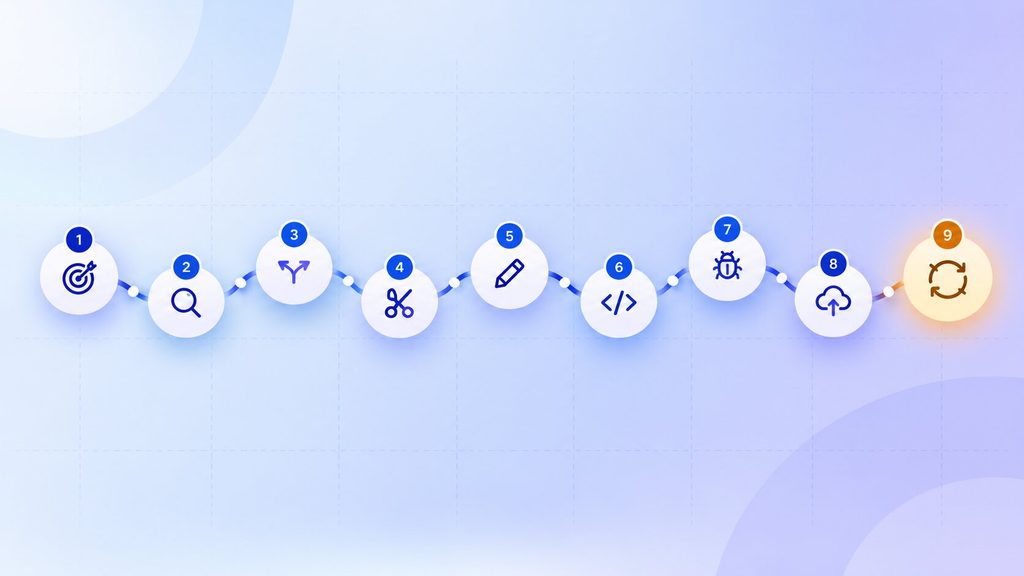
- Learning how to build a mobile app comes down to nine stages: verifying the problem, carrying out market research, selecting a build approach, defining the scope of the MVP, designing it, building it, testing it, submitting it, and then carrying out iterations after the launch.
- The cost varies from around $25,000 for a simple MVP to $500,000 or higher for a more complex, enterprise-grade application, with the amount depending on the features and the platform chosen.
- The timeline lasts between two and nine-plus months, and cross-platform development generally reduces both the cost and the time required as compared to building native versions twice.
- Apple and Google generally take one or two days to examine submissions, but it is realistic, not an optimistic view, to plan for a possible rejection and the need to resubmit.
- All three options using a no-code approach, doing it yourself with DIY coding, and hiring a development team are entirely valid. The best choice for you will depend on your budget, the time frame you have, and just how unusual the logic of your app really is.
How to Build a Mobile App: A Step-by-Step Process
The order that actually lowers risk is not the same as the one that seems natural. At every stage, you get something tangible that you need for the following step.
Step 1: Define the Problem and Your App’s Goal
When figuring out how to build a mobile app, you never begin with a list of features; you begin with a problem worth solving.
State today the workflow that is not working: who has difficulties with it, what task they are attempting to carry out, and where the resistance is actually evident. If you cannot put that into a single sentence, then you are not ready to draw up any specifications at this stage.
- The problem in a single sentence is who struggles, on what task, and where the difficulty arises.
- The objective in a single sentence is to describe the change that occurs for that individual when your app is available.
- A single figure: the number that you’ll look at once the product has been launched in order to determine if it was successful.
If you skip this step, all the subsequent decisions, judgments, and choices will be based on opinion rather than on evidence.
Step 2: Research Your Market and Competitors
When the problem has been confirmed, find out who else is working on it, even if they’re doing so poorly. Download the three to five most popular apps in your category and use them as a real user would, not as a founder going through a list of competitors.
Pay closest attention to:
- The competitors have settled on pricing and monetization.
- The difficulty involved in onboarding: how many taps does it take before a new user achieves value?
- The one-star and two-star reviews are about as close as you get to free product research.
- There are still feature gaps that no one else in the category has managed to fill.
- The platform coverage is available for iOS, Android, or both platforms.
A lack of reviews of all the competitors is generally the best indication that there actually is an opportunity present, not merely an assumption on your part.
Step 3: Choose Your Build Approach
How to build a mobile app depends on the approach you pick, and it will impact your costs, your schedule, and how much you can modify the app later on; there are four actual options, and they are not interchangeable.
| Approach | Best fit | Cost and timeline signal | Watch out for |
| No-code / AI builder | Content, booking, or directory apps; testing demand fast | Days to weeks, low monthly cost | Platform limits, data portability, no source code ownership |
| Cross-platform (Flutter, React Native) | Most business apps shipping on both iOS and Android | Cuts cost roughly 30-40% versus building native twice | Some hardware-heavy features still need native modules |
| Native (Swift, Kotlin) | Games, hardware-intensive apps, or a single priority platform | Highest cost of the four, two separate codebases | Two teams, two review cycles, two ongoing maintenance tracks |
| Custom development with a partner | Unique workflows, integrations, compliance needs, long-term ownership | Highest upfront investment, most control over the outcome | Requires properly vetting the team you hire |
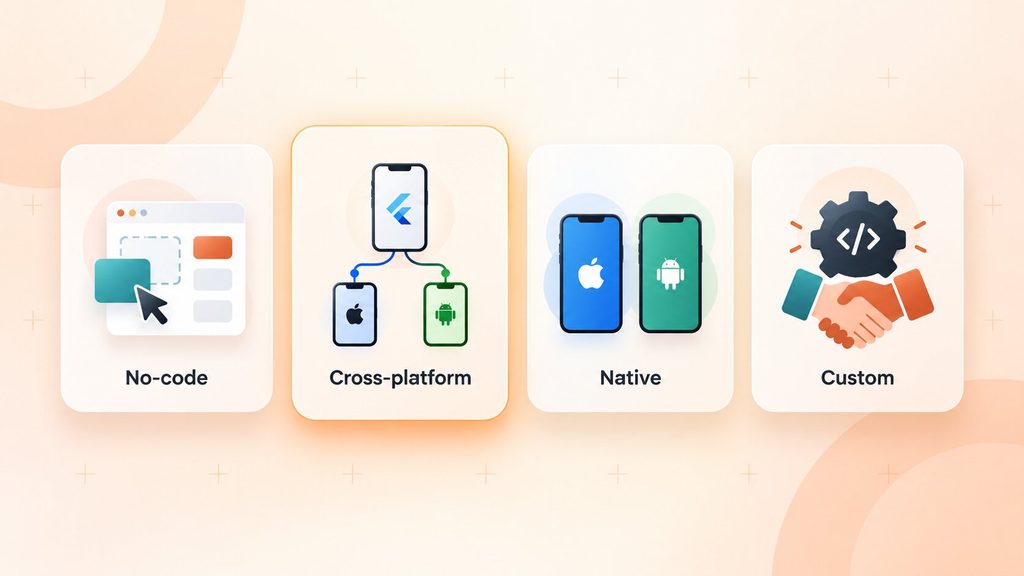
According to RaftLabs’ 2026 cross-platform guide, cross-platform development typically saves 30 to 40% versus building native apps for both platforms separately, with the gap narrowing only when an app leans heavily on platform-specific performance or hardware. The same guide frames it simply: React Native suits teams with JavaScript experience building business apps where speed matters, Flutter suits design-heavy apps that need pixel-perfect consistency, and native suits hardware-intensive products where platform UX is the whole point.
If you need to be live on both iOS and Android without splitting your budget in two, cross-platform development is usually the sane default in 2026, not the compromise it used to be.
Step 4: Scope Your MVP Feature Set
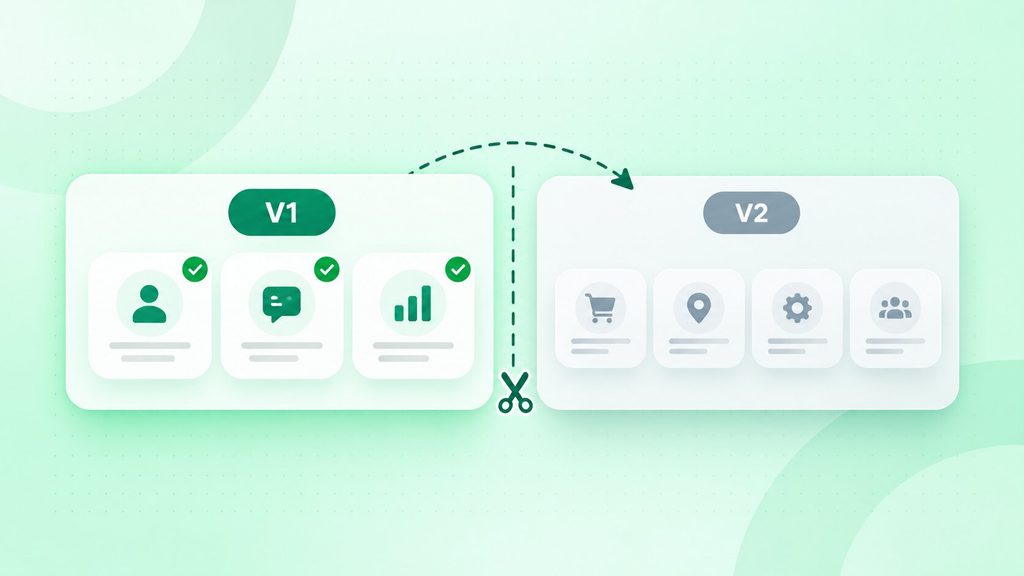
Imagine all the features and then cut them down severely to achieve the one main task from start to finish.
Test each remaining feature against three questions:
- Does it achieve the core result that you established in Step 1?
- Does it lower a serious risk, like a payment failure or losing data?
- Can it address a real question that you can’t make progress on unless you test it?
If the honest answer to all three questions is no, then it should go into version two, not version one; a focused MVP is what makes it possible to keep your first release small enough to actually complete and cheap enough to be able to survive making the wrong decision about a feature.
Step 5: Design the UX/UI and Prototype
Design is not merely a decorative element. As peer-reviewed research into the first impressions of websites and apps shows, a large proportion of users’ initial judgments about a digital product are formed almost immediately, mainly based on the visual design, long before they have decided whether the product actually functions.
Begin with a flow diagram and low-fidelity wireframes before dealing with colour or type. A few principles remain valid no matter what category your app belongs to.
- Each screen should have only one purpose; if a screen is carrying out two functions, then it should be split.
- The design should focus on the thumb area, with the main actions placed in the lower third of the screen since this is where the hand usually rests.
- Adhere to the conventions of the platform; on both iOS and Android, users are already familiar with established patterns, so going against them would add friction rather than giving the application a distinct personality.
- Before any production code has been written, carry out testing with real users.
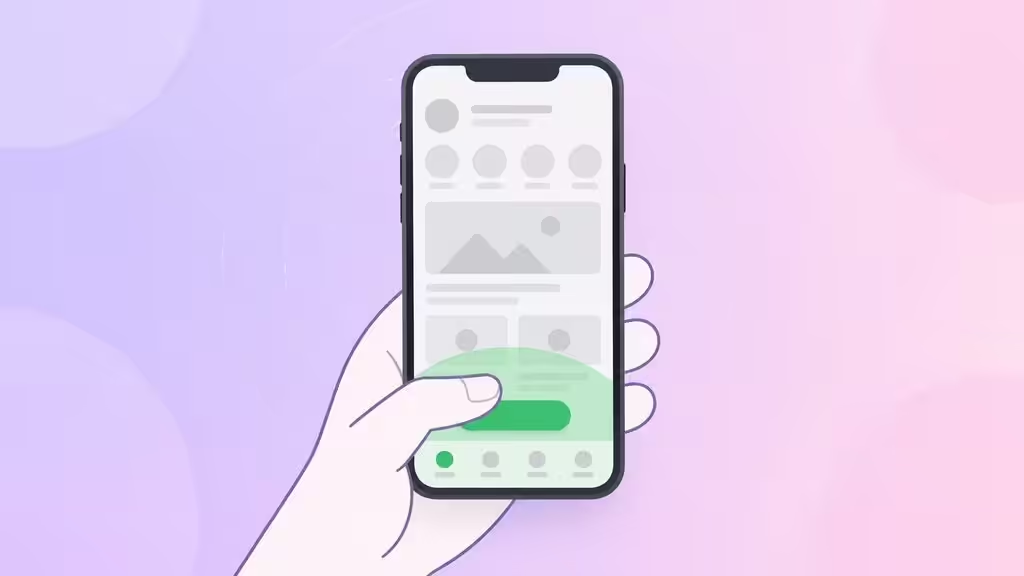
It takes up an afternoon to pick up a confusing flow at the wireframe stage and a complete rebuild if it is discovered after development has taken place.
Step 6: Build the App
This is where how to build a mobile app becomes real: the decision you made in Step 3 turns into a codebase, and the stack depends on the platform chosen.
| Platform | Primary language | Common backend options |
| iOS (native) | Swift | Firebase, AWS, Node.js |
| Android (native) | Kotlin | Firebase, AWS, Node.js |
| Cross-platform | Dart (Flutter) or JavaScript (React Native) | Firebase, AWS, Node.js |
If you’re new to Android specifically, our beginner’s guide to Android development and our explanation of what the Android SDK really does go into the basics in more depth than can be included here.
Instead, develop the app in short, testable stages rather than making one long concerted effort to get to a fully finished product. You should first verify your riskiest technical dependency, for example, a payment integration, an offline sync mechanism, or a legacy API, before you’ve refined all the surrounding screens. In that case, if the component fails, you should find out about it in week two, not in week ten.
Step 7: Test Across Devices, Security, and Usability
Users have almost no patience for bugs. A Qualitest survey found that 88% of app users will abandon an app entirely after running into bugs or glitches, which makes testing one of the few steps here with a direct line to whether people stick around at all.
Cover these categories before you consider the build done:
- Functional testing: Does every feature work precisely as specified in the case of functional testing?
- Performance testing: How does the app behave under real network and load conditions, not just on your test device?
- Usability testing: Can a new user carry out the main task without having any instructions?
- Security testing: Is user data actually protected? The OWASP Mobile Application Security Verification Standard is a solid checklist for storage, authentication, and network communication.
- Device and OS coverage: When it comes to different devices and versions of the operating system, does the app remain effective across all screen sizes, OS versions, and on both platforms if it is developed for multiple platforms?
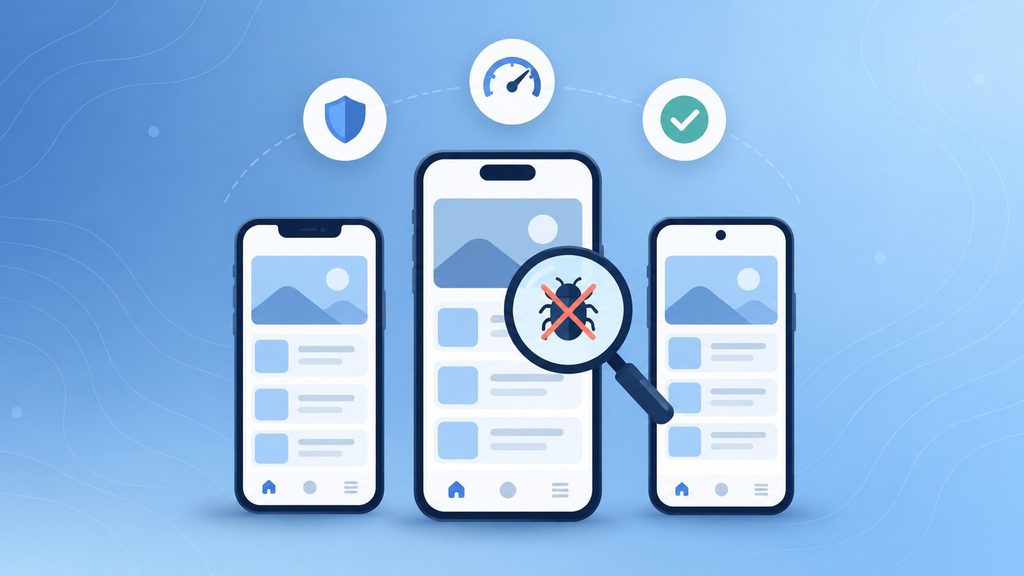
It is advisable to automate as much as possible, with special emphasis on functional and regression tests, and to leave the human testers to deal with the edge cases that automation cannot predict on its own.
Step 8: Submit to the App Store and Google Play
To get your app released to the public, both stores require you to have a paid developer account and for it to undergo a review.
| Store | Account cost | Typical review time | Note |
| Apple App Store | $99 per year | Apple states that 90% of submissions are reviewed in under 24 hours | Follow Apple’s App Review Guidelines closely before you submit |
| Google Play | $25 one-time | Typically a few hours to three days, longer for policy-flagged categories | Leans more heavily on automated checks than Apple’s process |
Instead, assume first-time approval and plan your budget around the possibility of rejection. GoodBarber, which carries out app store submissions on behalf of its clients, states that Apple’s rejection rate on the first submission is about 42%, mostly due to problems with the metadata, the omission of privacy disclosures, or other edge cases which the review team actually checks by hand. This does not mean that your app has any faults. It only means that the timeline that you have made public should include a week’s buffer.
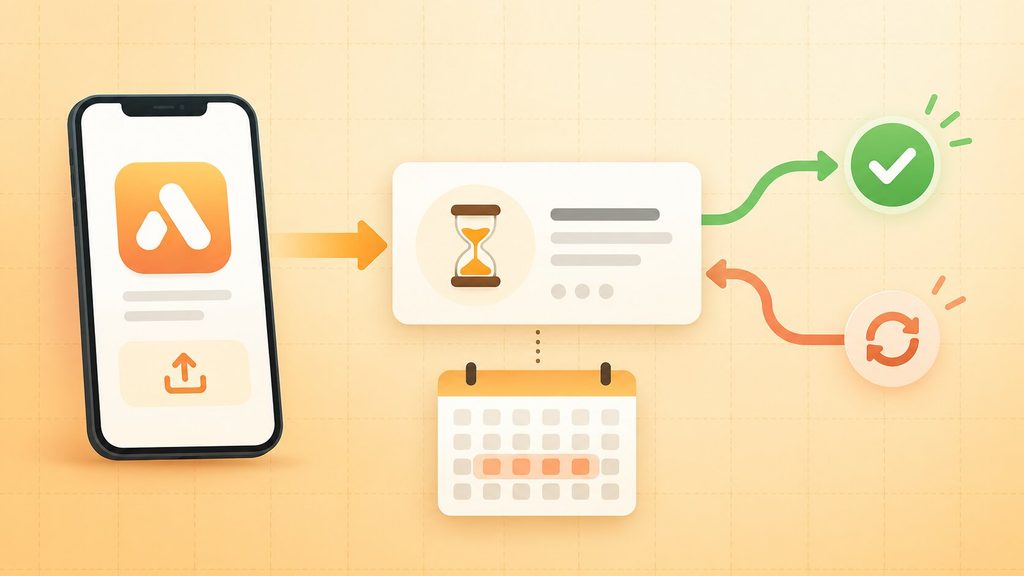
Step 9: Launch, Monitor, and Iterate
It is almost never a good idea to launch the product at the same time to all users. Instead, you should first try it out with a phased rollout or a limited beta group so that any problems can be detected when the number of affected users is still small.
Once you’re live, track:
- Whether or not new users actually achieve the value you have promised.
- The number of people who return after the first session regarding retention.
- The rate at which crashes occur and API failures, which are the technical indicators that forecast churn before users do so.
- The business indicators that show whether growth can be sustained are support volume and cost per acquisition.
View the launch as your first reliable piece of data rather than as the end of the story. The backlog that accumulates from actual usage is more important than any feature that you had anticipated before the launch, and it is continuous maintenance and support that ensure the app keeps working as the operating system versions, security requirements, and user expectations all change after you release it.
How Much Does It Cost to Build a Mobile App?
Online cost estimates vary greatly since they usually don’t compare the same scope of work. A better way to consider the issue is in terms of complexity levels.
| Complexity | Estimated cost (2026) | Typical timeline | Best for |
| Simple MVP | $25,000 to $50,000 | 2 to 4 months | Validating a single core workflow |
| Mid-level business app | $50,000 to $150,000 | 5 to 8 months | Scaling SMEs and e-commerce |
| Complex or enterprise | $150,000 to $500,000-plus | 9-plus months | AI-native or global platforms |
Source: OpenXcell, 2026 cost breakdown.
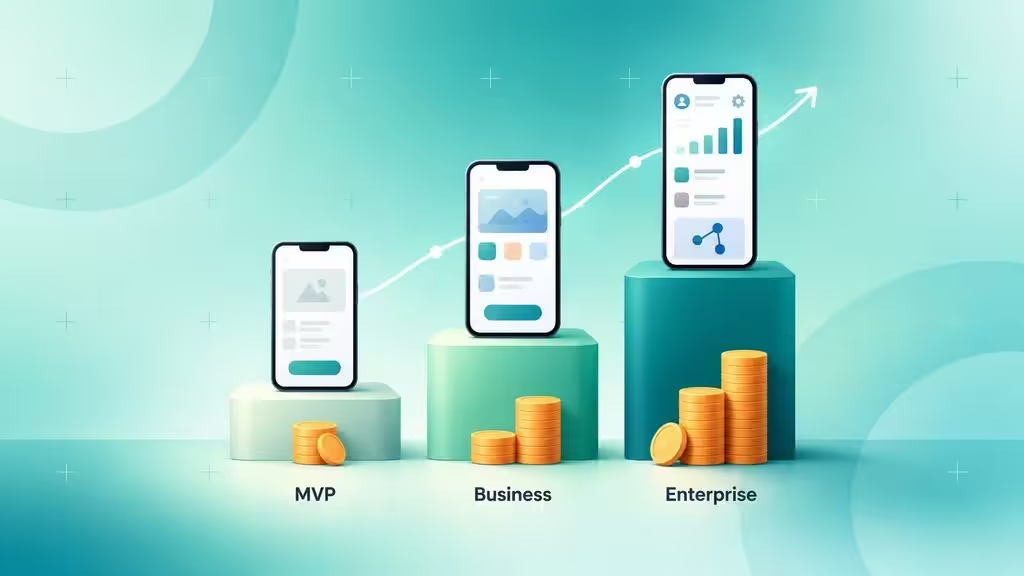
To give a broader point of reference, Kellton’s analysis of more than 5,000 app development projects shows the average cost of developing a custom mobile app to be $171,450 between 2025 and 2026, although the majority of mobile applications used by small and mid-sized businesses fall within the range of $50,000 to $120,000. The difference between this average and the costs of the lower categories is mainly due to feature complexity and integrations, not simply the choice of platform, though choosing a cross-platform solution instead of building two separate native versions is still one of the most dependable methods for bringing your own cost down to the lower end of the tier you are in. For a deeper look at what drives these numbers, see our guide to mobile app development cost.
Common Mistakes to Avoid When Building a Mobile App
The costliest mistakes in how to build a mobile app usually happen before development begins, not while it is underway.
- Omitting validation and then creating the complete feature list on the first day; an app that is built according to everyone’s wish list rarely gets finished and certainly doesn’t finish within budget.
- We stick with the native option for both platforms out of habit. If there’s no particular reason relating to hardware or performance, this choice will simply result in twice the build size without actually producing any additional benefit.
- Considering the submission of the app to the store as if it were a mere formality, setting a public launch date with no buffer time to allow for a possible rejection means that you will most likely miss that launch date.
- Once your budget has passed the 1.0 version, regular OS updates, security patches, and changes to third-party APIs should not cease either.
- It is necessary to design the phone screen in a way that is similar to a compressed desktop layout; mobile UX should have its own flows, its own level of navigation, and its own testing, not just a reduced version of the website.
These problems usually appear as scope or budget issues six months later, and it is much cheaper to detect them in Steps 1 through 4 than it is to detect them in Step 9.
Whether you should build it yourself, use a no-code solution, or employ a development team?
There isn’t a single correct answer in this case, only the appropriate one for your particular budget, timeline, and the degree to which your app’s logic is unusual.
| Path | Best for | Realistic cost | Real trade-off |
| No-code / AI builder | Validating quickly, non-technical solo founders | Roughly $25 to $500 per month | Platform lock-in and a ceiling on complex custom logic |
| DIY coding | You already code, and time is cheaper for you than money | Mostly your own time | Six to twelve-plus months if you’re starting from zero experience |
| Development team or agency | Unique workflows, integrations, compliance needs, or an app meant to scale | Roughly $25,000 to $500,000-plus | Requires properly vetting the team before you commit |
The only way to tell is not to see which option sounds the most impressive, but rather to assess whether the fundamental logic of your app can be expressed using a template, whether you yourself have the time and opportunity to learn it, or whether it is specific enough to require a team that has previously built similar systems.
How Boomdevs Helps You Build a Mobile App
If you’re unsure how to build a mobile app with custom workflows, a development partner usually recovers the cost at the point where your app relies on custom workflows, payments, integrations with systems that you currently use, or a codebase that you’ll need to take ownership of and scale for many years.
Boomdevs builds native and cross-platform apps across iOS, Android, Flutter, and React Native, backed by more than 10 years of experience and 3,500-plus delivered projects. The work starts the same way this guide does: validating the problem and scoping an MVP before a single screen gets built, so the budget goes toward the version of the app that actually needs to exist.
See how Boomdevs would scope your app: get a free project estimate.
Frequently Asked Questions
How Long Does It Take to Build a Mobile App?
A simple MVP typically takes 2 to 4 months, a mid-complexity business app runs 5 to 8 months, and a complex or enterprise-grade app can take 9 months or longer. Cross-platform development generally lands faster than building separate native apps for iOS and Android, since the same codebase covers both.
How Much Does It Cost to Build a Mobile App?
Costs typically range from $25,000 for a simple MVP to $500,000 or more for a complex, feature-rich platform, according to OpenXcell’s 2026 breakdown. Feature complexity and integrations move the number more than platform choice alone, though cross-platform development tends to land toward the lower end of whichever tier applies.
Should I Build Native or Cross-Platform?
Cross-platform, using Flutter or React Native, is the default for most business apps shipping on both iOS and Android, since it can cut costs by 30 to 40% compared to two separate native builds. Native development still makes sense for games, hardware-intensive apps, or products where a single platform’s performance and UX are the entire point.
Do I Need to Know How to Code to Build an App?
No. You can learn how to build a mobile app with no-code and AI builders, which let you assemble a working app visually, without writing Swift, Kotlin, or JavaScript yourself. The trade-off is a ceiling on how complex your app’s logic can get before you outgrow the platform, which is why many founders start no-code to validate demand and move to custom development once the concept is proven.
How Long Does App Store Review Take?
Apple states that 90% of submissions are reviewed in under 24 hours, and Google Play typically clears apps within a few hours to three days. Both timelines assume a clean first submission; a rejection and resubmission cycle, which happens often enough to plan around, adds days to weeks depending on how quickly you can address the feedback.
Should I Hire a Developer or Build It Myself?
It depends on your app’s complexity and your own runway. No-code fits simple, content or booking-style apps you want to validate fast. DIY coding fits people who already write code and have months to spare. Hiring a development team fits apps with unique workflows, integrations, or compliance needs, where getting the architecture right the first time matters more than the upfront cost.