
How to Add recaptcha to Contact Form 7 (2023)
Contact forms may be used for a variety of reasons, such as contacting customer service representatives for technical support or asking general questions about the company. Consider how you’d feel if a BOT came to your website and constantly filled out the contact form. It would be very inconvenient and time-consuming for you. As a result, you should allow ReCaptcha on your contact form to protect your website from spam and harassment.
I’ll show you How to Add Recaptcha to Contact Form 7 in this article.
So that you can keep the bot off from your website. First, let’s answer a few of the questions raised in our previous post.
What is Captcha?
Captcha means Completely Automated Public Turing test. In easy word, Captcha is a computer test that ensures a response comes from a real person, not a bot. Google says the word captchas comes from the phrase “capture your attention.” A CAPTCHA is a program that protects websites from spam and abuse. For setting up captcha people are using reCAPTCHA on their website.reCAPTCHA is a free service from Google.
How does reCAPTCHA work?
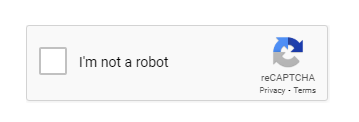
The reCAPTCHA system was created by Google in 2009 to identify human users on the internet. It through a challenge-response test used in computing to ensure that the response comes from an actual human being. You will see a checkbox labeled “I am not a robot” on several websites. You proved that you are not a robot by checking the box. It’s often required to verify by selecting the appropriate image. This is how reCAPTCHA works. It ensures that the answer is given by a real person.
How to Add recaptcha to Contact Form 7
Contact form 7 comes with built-in functionality to integrate with reCAPTCHA.For activating reCAPTCHA on your site, you need also a google account for the site key and security key. Follow my step-by-step instruction to activate reCAPTCHA.
Step #1. Get the reCaptcha public and secret keys
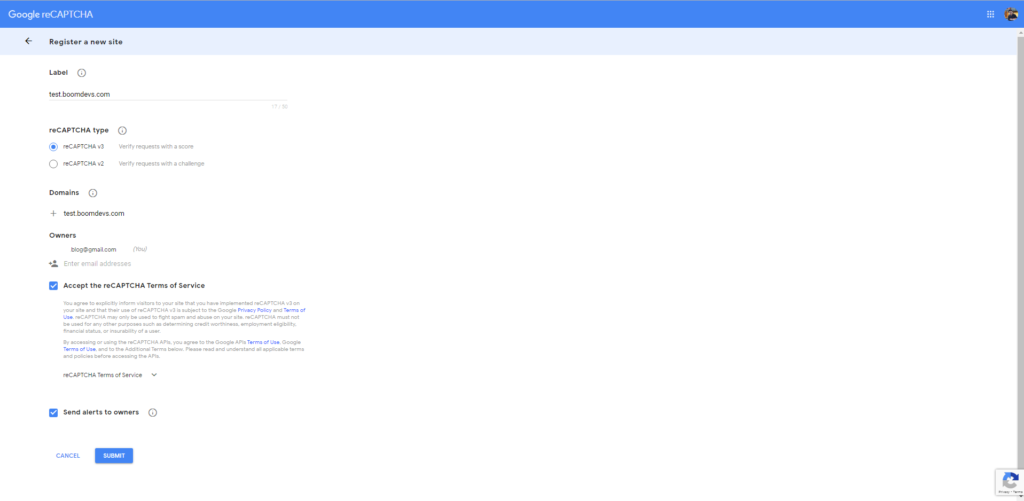
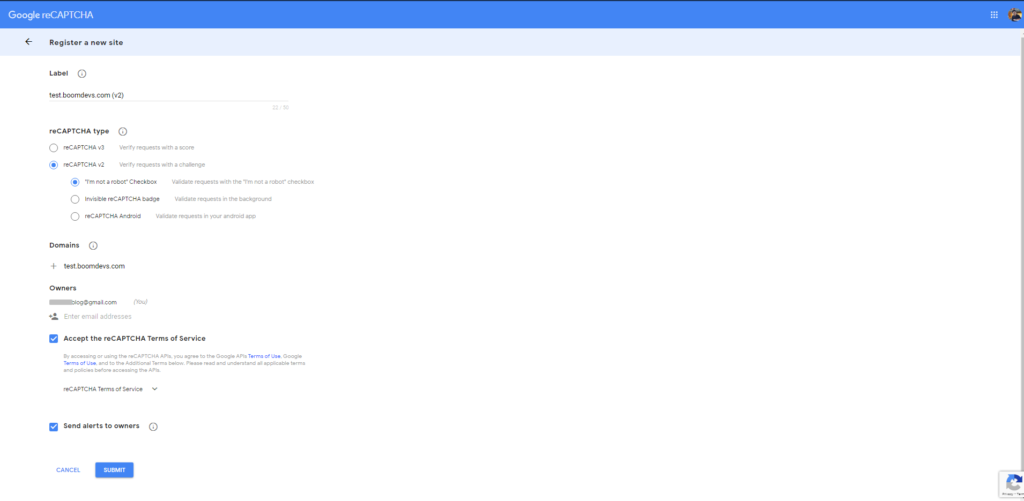
Go to the Google reCAPTCHA page Fill the form with your information as I have added. Then hit Submit now.
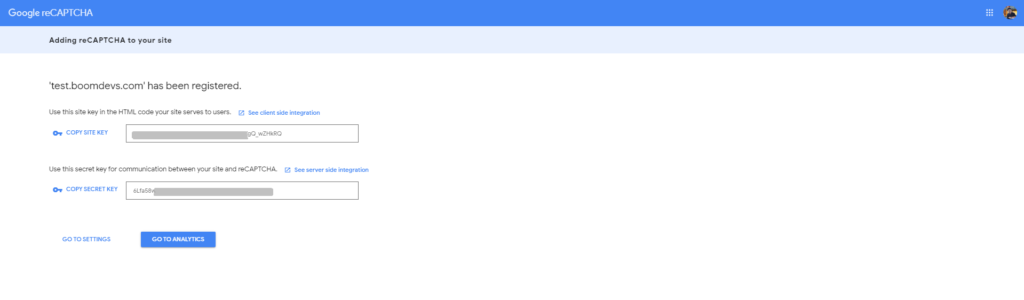
This page will be displayed after you submit your details. Copy the Site Key and Secret Key and save them somewhere secure.
Step #2. Integrate reCAPTCHA with Contact Form 7
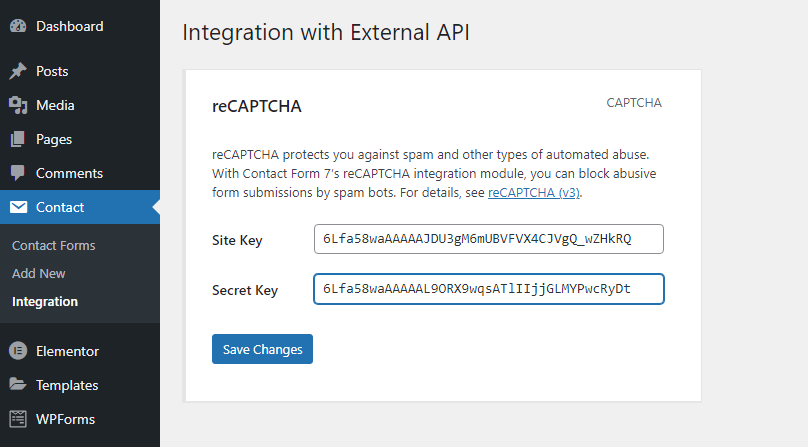
Now go to Contact Form 7 > Integration
Click on the Setup Integration for reCAPTCHA

Paste the Site Key and Secret Key and hit on the save button.
Your reCAPTCHA has been fully enabled on your website. However, you’ll need to change the contact form a little to include the captcha option in your contact form. Don’t worry, I’ll help you out.
Step #3. Make changes to the default contact form.
Go to the existing contact form. Hit on the edit.
Now you have to paste a sort code above the submit text like me.
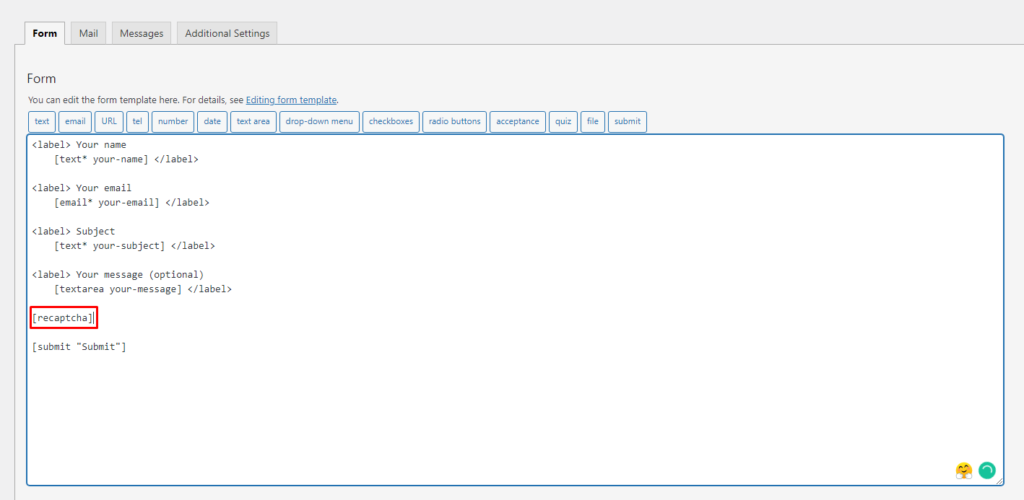
[recaptcha]Paste this and hit the save button. Now everything is done. You can preview your contact page and you will find reCAPTCHA logo on the button. As you can see, reCAPTCHA is working to keep bots off your website.

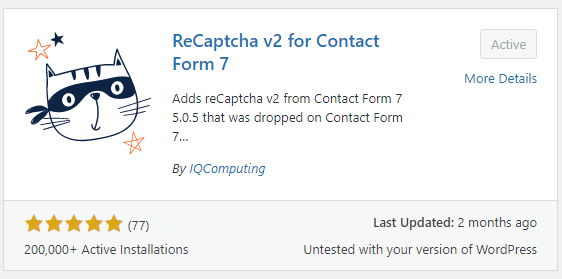
But if you have to use a checkbox like this then you have to use reCAPTCHA v2 and need this plugin also.
For using reCAPTCHA v2 you have to install this plugin then go to contact form 7 > reCaptcha version > select reCaptcha v2
For v2, you’ll need to create a new Site Key and Secret Key.
You can take a look at this image. You must complete these two steps in order to use reCAPTCHA v2. Others, though, are the same as I previously said.
Please feel free to ask any questions in the comments section.
Related Post
How to Duplicate a Page in WordPress (2021)
How To Hide Featured Image In WordPress Post (2021)

Author: Shamiul Bishal
BoomDevs' Head of Content & SEO Analyst. Enjoys writing about the things I've experienced. Skilled in SEO, WordPress, HTML, Social Media Optimization, and Content Writing.